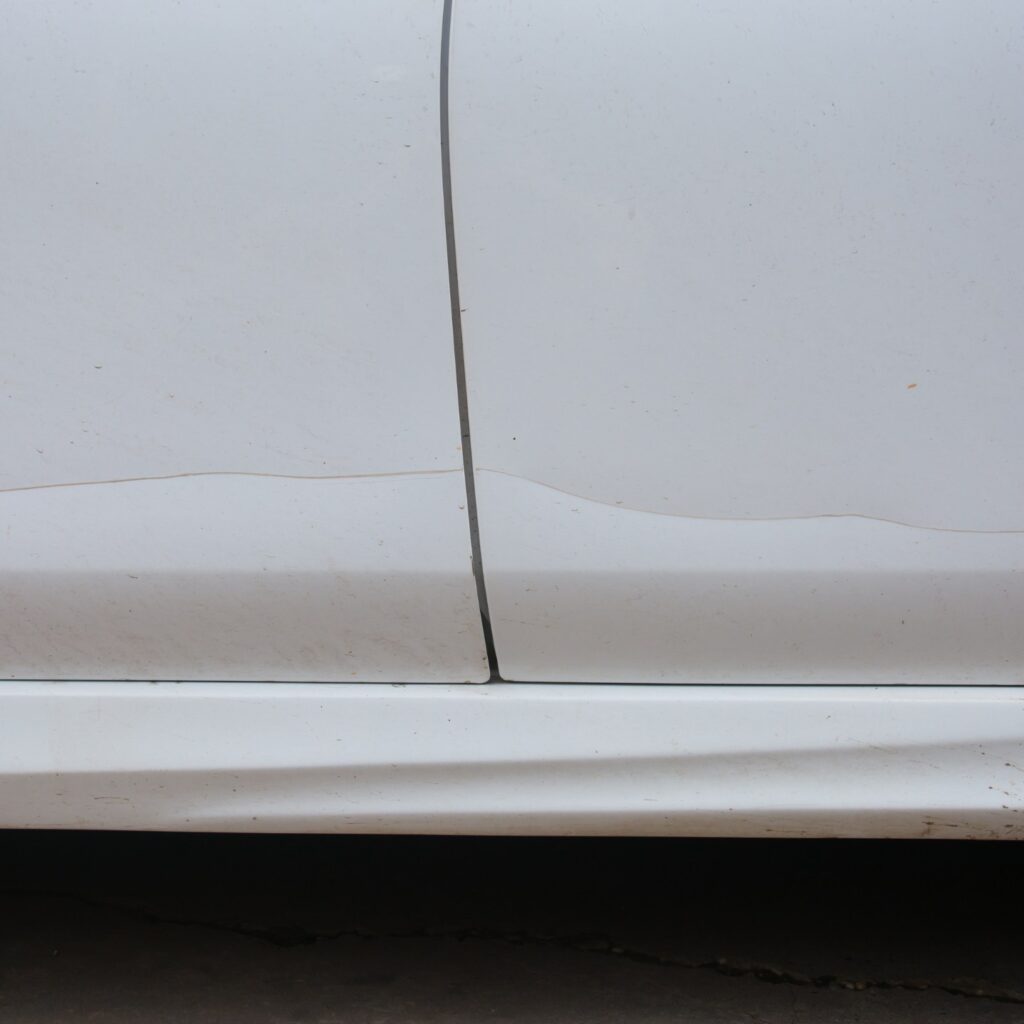
Discovering surface scratches on your car can be disheartening, turning the pride of a shiny, well-maintained vehicle into frustration. Whether they’re the result of a close encounter with bushes, the aftermath of a grocery store parking lot, or simply the wear and tear of daily use, surface scratches can detract from your car’s aesthetic appeal. However, the situation isn’t as grim as it appears. With the right approach, removing these minor blemishes can be a straightforward, do-it-yourself task that restores your vehicle’s surface to its original glory.
In the world of car maintenance, understanding how to effectively remove surface scratches is a valuable skill for any car owner. This guide aims to demystify the process, offering a detailed look at DIY scratch removal techniques that are both cost-effective and gratifying. From assessing the scratch to applying the perfect solution, such as the Effortless Car Scratch Removal Paste, this article will walk you through the best ways to rejuvenate your car’s exterior without the need for professional services. Join us as we explore how to tackle surface scratches head-on, ensuring your vehicle continues to turn heads for all the right reasons.

Understanding Surface Scratches
Before rolling up your sleeves to tackle those pesky surface scratches, it’s crucial to get a handle on what exactly you’re dealing with. Surface scratches are superficial marks that affect only the outermost layer of your car’s paint, the clear coat. Unlike deeper gouges that reach the paint or primer beneath, surface scratches don’t typically require a trip to the body shop and can be addressed with some elbow grease and the right products.
Common Culprits Behind Surface Scratches:
- Everyday debris like sand and small rocks can scratch your car when they come into contact with the vehicle at high speeds.
- Improper washing techniques or using harsh materials can leave behind swirl marks and scratches.
- Environmental factors, such as tree branches or exposure to elements, contribute to surface damage over time.
Identifying Surface Scratches: A simple way to determine the depth of a scratch is the fingernail test. Gently run your fingernail over the scratch; if it doesn’t catch, you’re likely dealing with a surface scratch that’s ripe for DIY repair. This distinction is important because it sets the stage for the kind of repair approach you’ll take, ensuring you don’t overdo it or underestimate the scratch’s impact.
Understanding the nature of surface scratches is more than just technical knowledge; it’s about arming yourself with the insights needed to preserve your car’s swagger. It turns the ordeal of discovering a new scratch from a moment of dread into an opportunity to showcase your DIY prowess. With this foundational knowledge, you’re ready to move forward with confidence, knowing that those surface blemishes are well within your capability to fix. Let’s dive into how you can bring your car’s finish back to its immaculate state with a solution that’s both effective and straightforward.

The Essentials of DIY Scratch Removal
Now that you’re equipped with the knowledge of what surface scratches are and how they come about, it’s time to dive into the DIY essentials for removing them. The beauty of handling surface scratches yourself is the satisfaction of seeing immediate results without the hefty price tag of professional detailing services.
Basic Tools and Materials Needed: To embark on this DIY journey, you’ll need a few key items:
- A high-quality scratch removal product, like the Effortless Car Scratch Removal Paste, designed to tackle surface scratches with ease.
- Microfiber cloths, which are gentle on your car’s paint and perfect for applying the paste and buffing the surface.
- A clean, damp sponge for pre-cleaning the affected area to ensure optimal application of the scratch remover.
Assessing the Scratch Depth: Before you begin, reassess the scratch’s depth using the fingernail test mentioned earlier. This step ensures you’re not dealing with deeper damage that might require more than a surface-level fix.
Introducing the Effortless Solution: Car Repair Paste
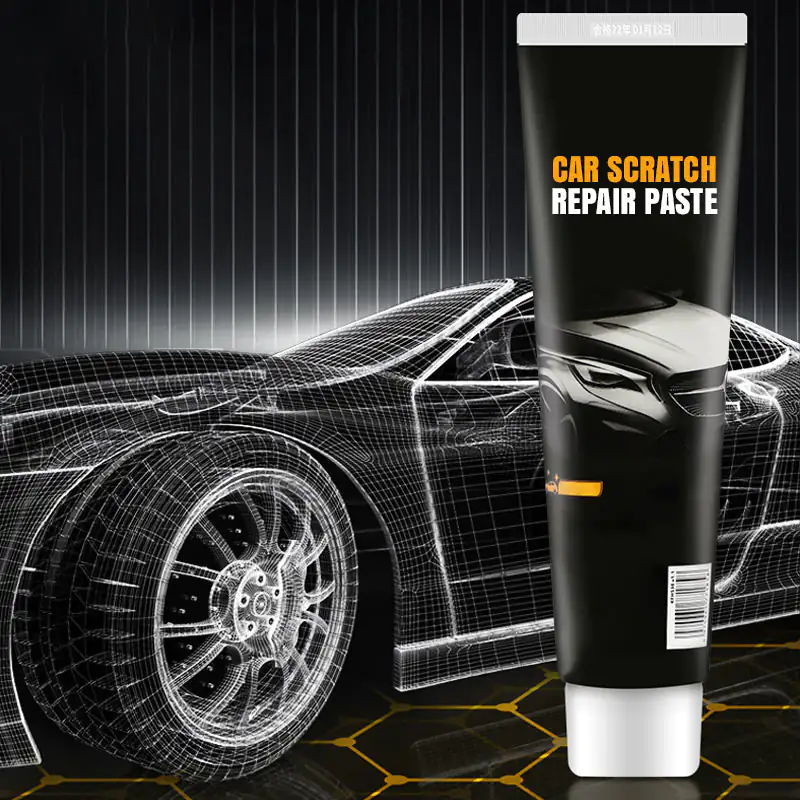
When it comes to choosing a scratch remover, the Effortless Car Scratch Removal Paste is a standout option. This product isn’t just another addition to your car care kit; it’s a game-changer for anyone looking to restore their vehicle’s pristine appearance with minimal effort. Its formulation is designed to work on all types of paintwork, including metallic and pearlescent finishes, making it a versatile tool in your car maintenance arsenal.
Why Car Repair Paste?
- Versatility: Whether your ride sports a classic solid color or a flashy metallic finish, this paste handles it all.
- Ease of Use: Forget about complex tools or techniques. All you need is a bit of paste on a microfiber cloth, and you’re set to buff away those surface imperfections.
- Safety for Your Paint: The last thing you want is to fix one problem and create another. This paste is formulated to be gentle on your car’s original paint, ensuring you get rid of scratches without leaving any marks.
For a comprehensive guide on fixing minor scratches and more detailed instructions on using products like Car Repair Paste, check out this article: How to Fix Minor Scratches on Car. It’s packed with tips and tricks that will not only help you tackle current issues but also arm you with the knowledge to prevent future scratches.
Armed with the right tools and a can-do attitude, you’re well on your way to reviving your car’s look. The key is patience and attention to detail, ensuring that you apply the Car Repair Paste correctly for the best results. In the next section, we’ll walk you through a step-by-step guide to using the Car Repair Paste effectively, bringing you closer to that flawless finish you’re aiming for.

Step-by-Step Guide to Using Car Repair Paste
Achieving a blemish-free finish on your car’s exterior might seem like a task best left to professionals, but with the Effortless Car Scratch Removal Paste, taking the DIY route has never been simpler. Here’s a straightforward guide to using this wonder product, ensuring you get professional results right in your driveway.
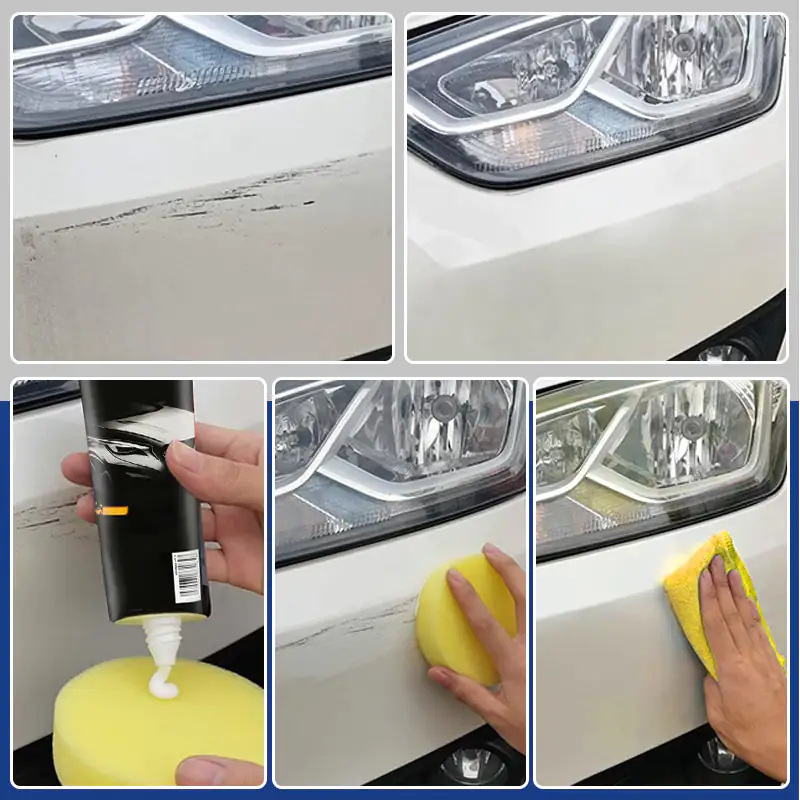
Step 1: Clean the Surface Before you start, make sure the area around the scratch is clean and free from any dirt, debris, or wax. Use a damp microfiber cloth to gently clean the surface, and then dry it thoroughly. A clean surface ensures that the Car Repair Paste can adhere properly and work its magic effectively.
Step 2: Apply the Paste Squeeze a small amount of the Car Repair Paste onto a clean, dry microfiber cloth. You don’t need a lot; a little goes a long way with this powerful formula.
Step 3: Gently Rub the Paste into the Scratch Using the cloth, apply the paste to the scratch in a circular motion. The goal here is to fill the scratch with the paste, allowing its special blend of waxes and paint repair particles to penetrate and fill in the scuff. Be gentle but firm, ensuring the entire scratch is covered.
Step 4: Buff the Area Allow the paste to sit for a few minutes, giving it time to dry and bond with the paint. Then, with a clean part of the microfiber cloth, gently buff the area where you applied the paste. This will remove any excess product and blend the repaired spot with the surrounding area.
Step 5: Admire Your Work After buffing, step back and admire your handiwork. The scratch should be significantly less visible, if not completely gone, leaving behind a smooth, restored surface. The Effortless Car Scratch Removal Paste delivers a flawless finish, making those surface scratches a thing of the past.
For those looking to dive deeper into the nuances of car maintenance and scratch repair, or if you’re simply curious about other tips for keeping your vehicle in top condition, exploring resources like How to Fix Minor Scratches on Car can be incredibly beneficial. Such guides offer a wealth of information, from preventative measures to detailed repair techniques, ensuring your car stays looking its best.
Using the Car Repair Paste is not just about fixing a scratch; it’s about taking pride in your vehicle’s appearance and enjoying the satisfaction that comes with DIY car care. With this easy-to-follow guide, you’re well-equipped to handle those inevitable little scratches, keeping your car looking pristine and well-loved.

Beyond Scratch Repair: Mastering Essential Car Maintenance
Now that you’ve tackled surface scratches with confidence and restored your car’s pristine look, it’s time to consider other aspects of car maintenance that can keep your vehicle running smoothly and looking great. Mastering essential car maintenance tasks not only extends the life of your vehicle but also enhances your understanding and appreciation of what it takes to keep it in top condition.
One crucial skill every car owner should have in their DIY repertoire is changing the car’s oil. Regular oil changes are vital for the health and longevity of your vehicle’s engine. They ensure that your engine is lubricated, running smoothly, and free from debris and buildup that can cause damage over time.
Why Learn to Change Your Car’s Oil?
- Cost Savings: Performing your oil changes can save you a significant amount of money over the life of your vehicle.
- Convenience: Knowing how to change your oil gives you the flexibility to perform the task on your own schedule, without waiting for service appointments.
- Vehicle Health: Regular oil changes contribute to your vehicle’s longevity, performance, and resale value by preventing engine wear and tear.
If you’re new to this essential maintenance task or looking to brush up on your skills, there’s a comprehensive guide that walks you through the process step by step: How to Change Your Car’s Oil: A Guide for Every Man. This guide is tailored for those who appreciate straightforward, practical advice and aims to demystify the process, making it accessible for car owners of all skill levels.
Just like how using the Effortless Car Scratch Removal Paste empowers you to maintain your car’s aesthetic appeal, learning to change your oil empowers you to take charge of your vehicle’s mechanical health. Both tasks are pillars of proactive car care, ensuring that your vehicle not only looks good but runs reliably.
Embrace the Full Spectrum of Car Maintenance Taking on DIY car maintenance tasks such as scratch repair and oil changes can be incredibly rewarding. It fosters a deeper connection with your vehicle and can be a point of pride. By embracing both the cosmetic and mechanical aspects of car care, you ensure that your vehicle remains a reliable, attractive companion on all your journeys.
As an Amazon Associate we earn from qualifying purchases through some links in our articles.


