Maintaining your vehicle isn’t just about keeping it shiny on the outside; it’s also about ensuring everything runs smoothly under the hood—especially when it comes to your car’s lifeblood: the oil. For every American man, knowing how to change your car’s oil is not just a skill; it’s a rite of passage. It’s a nod to self-reliance, a salute to cost-saving, and an ode to the tradition of hands-on work. Whether you’re a seasoned DIYer or a novice ready to get his hands dirty, this guide will walk you through the process of changing your oil, ensuring your engine stays in prime condition. With this essential maintenance task, you’re not just preserving your car’s performance; you’re embracing an age-old American tradition of do-it-yourself spirit and technical know-how.
We also have an article that is all about How the heck do I know when to change my vehicles oil?!

Key Takeaways
- Choosing the Right Oil: Understand the importance of selecting the appropriate oil for your vehicle, considering factors like climate, vehicle age, and manufacturer recommendations.
- Benefits of Regular Oil Changes: Regular maintenance keeps your engine clean, reduces wear, and extends its life, preventing costly repairs down the line.
- Tools and Preparation: Highlighting the essential tools and preparations needed for a hassle-free oil change process.
- Step-by-Step Process: A detailed walkthrough of the oil change process, ensuring even first-timers can follow along with confidence.
- Troubleshooting Common Problems: Tips on how to handle the most common issues encountered during an oil change, ensuring a smooth and safe maintenance experience.
Understanding Your Vehicle’s Oil Needs
Determining Oil Change Frequency
Understanding how often to change your car’s oil is crucial for maintaining engine health. While traditional wisdom suggested every 3,000 miles, modern vehicles and advancements in oil technology often extend this interval. Refer to your vehicle’s owner manual for the manufacturer’s recommendations, which can vary widely based on the engine type, oil used (synthetic vs. conventional), and driving conditions.
Synthetic vs. Conventional Oil
Synthetic oils are engineered to provide superior performance and protection over conventional oils, especially in extreme temperatures. They can improve engine efficiency, offer longer oil change intervals, and are generally recommended for newer models or high-performance vehicles. Conventional oil, while often more affordable, is perfectly suitable for many engines, especially if you adhere to regular maintenance schedules.

Understanding Oil Viscosity Ratings
Oil viscosity, or its thickness, is critical for ensuring your engine is properly lubricated. The right viscosity ensures the oil flows smoothly through the engine, protecting against wear. Most oils are labeled with a multi-grade rating indicating their viscosity under cold and hot temperatures (e.g., 5W-30), which should be chosen based on your vehicle’s operating environment and manufacturer guidelines.

Tools and Materials Needed for an Oil Change
Before you dive into the transformative world of vehicle maintenance, akin to selecting the perfect cologne that enhances your personal allure as highlighted in MenGuidingMen’s take on top men’s colognes, choosing the right tools and materials for an oil change is equally vital in driving success in your DIY automotive care. Just as the right scent can elevate your presence, the correct tools ensure a smooth and efficient oil change process. Here’s what you’ll need:
Essential Tools
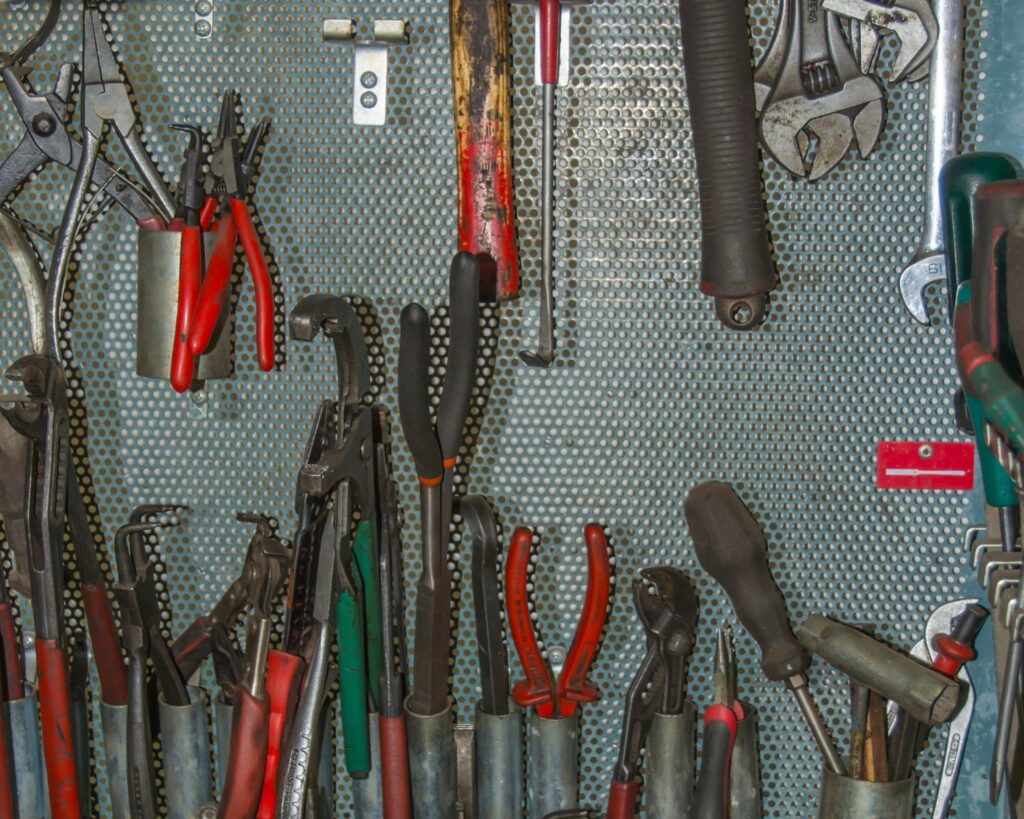
- Oil Filter Wrench: A specialized tool to remove the oil filter. Ensure you have the correct size for your car’s filter.
- Socket Wrench: Used for removing the oil drain plug. A set with various sizes is handy for different tasks.
- Oil Drain Pan: To catch the old oil as it’s drained from the engine. Choose one with sufficient capacity for your engine’s oil volume.
- Funnel: To pour new oil into the engine without spillage.
- Gloves and Rags: Protect your hands and ensure a clean work area.
Materials
- Engine Oil: Select the type and amount specified in your vehicle’s manual. Whether it’s synthetic or conventional, the right oil makes all the difference, just as the right cologne can set the stage for success and attraction.
- New Oil Filter: Ensure it’s the correct model for your engine. A quality oil filter is crucial for keeping your oil clean and your engine running smoothly.
- Replacement Drain Plug Washer: While not always necessary, it’s good practice to replace this washer to ensure a leak-free seal.
Gathering these tools and materials is the first step in the journey of mastering your vehicle’s maintenance, mirroring the process of curating a personal style that commands attention and respect.

Step-by-Step Guide to Changing Your Oil
Changing your car’s oil is akin to crafting a well-tuned engine of success. Just as every detail counts in creating a lasting impression, each step in the oil change process ensures your vehicle runs at its peak. Follow this detailed guide to refresh your engine and keep it humming smoothly.
Draining the Old Oil
- Warm Up Your Engine: Run your car for a few minutes to warm the oil, allowing it to drain out smoothly.
- Locate the Drain Plug: Position your drain pan underneath the oil drain plug.
- Remove the Drain Plug: Use your socket wrench to carefully remove the drain plug, letting the old oil flow into the pan. This moment, much like choosing the perfect accessory, requires precision and attention.
Replacing the Oil Filter
- Remove the Old Oil Filter: Using your oil filter wrench, unscrew the old filter. Be prepared for residual oil to spill out.
- Prepare the New Filter: Lightly oil the gasket of the new filter with fresh oil. This ensures a perfect seal, akin to setting a solid foundation for enduring success.
- Install the New Filter: Screw it in by hand until it’s snug, but don’t overtighten.

Adding New Oil
- Replace the Drain Plug: Don’t forget to fit a new washer if necessary, securing the plug back in place.
- Add New Oil: Using your funnel, pour the new oil into the engine. Be sure to use the correct amount and type of oil, as specified for your vehicle.
Clean Up and Check for Leaks
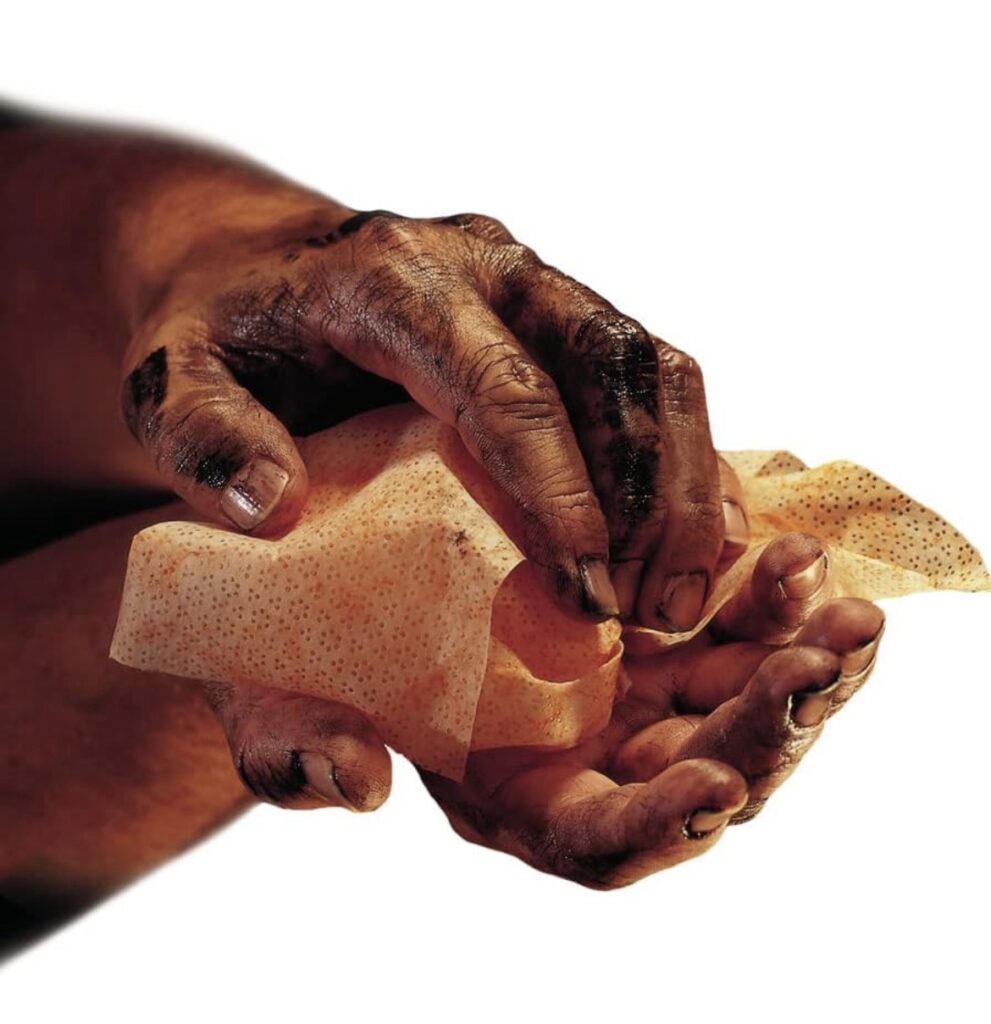
After you’ve replaced the oil and filter, it’s time to clean up. Fast Orange Hand Cleaning Wipes are invaluable for this step, especially for removing tough oil residue from your hands. Their specially designed formula cuts through grease and oil, making clean-up a breeze. Perfect for those who value efficiency and cleanliness, these wipes ensure that your hands are as spotless as your engine’s performance after an oil change. Keeping a pack handy is a smart move for any DIY mechanic. Find Fast Orange Hand Cleaning Wipes here to make your next oil change as clean and efficient as possible.
Final Steps
- Check the Oil Level: After allowing the car to run for a few minutes, turn it off and check the oil level using the dipstick. Add more oil if necessary.
- Dispose of Old Oil Properly: Remember to take your old oil and filter to a recycling center.
This step-by-step guide ensures your vehicle’s engine remains in top condition, echoing the meticulous care you apply in every aspect of life, from personal grooming to automotive maintenance.
Troubleshooting Common Issues During Oil Changes
Even the most prepared DIY mechanic can encounter hiccups during an oil change. Like the unspoken rules of the man cave, as detailed in MenGuidingMen’s exploration of the Man Cave Code, there are solutions to common oil change issues that keep the process within the sacred space of your garage smooth and stress-free.
Stripped Oil Drain Plug
A stripped oil drain plug can turn an oil change from a routine maintenance task into a frustrating challenge. This usually happens due to over-tightening the plug during the previous oil change or using the wrong tools.
- Solution: Use a rubber band for extra grip over the plug or a specialized tool like a bolt extractor. For future changes, ensure you’re using the correct torque specifications to avoid stripping.

Over-Tightened Oil Filter
An oil filter screwed on too tight can be as stubborn as a well-sealed secret within the walls of a man cave.
- Solution: Employ an oil filter wrench with adjustable grip to enhance leverage. If the filter tears, a screwdriver driven through the body of the filter can provide the necessary leverage to turn it.
Oil Leaks Post-Change
Discovering oil spots on your driveway after an oil change can be disheartening. Often, this is due to a poorly fitted oil filter or drain plug washer.
- Solution: Double-check the fit of your oil filter and ensure the drain plug washer is properly seated. If the leak persists, it may be time to replace the washer or consult a professional.
Incorrect Oil Level
Just as balance is key in the sanctity of a man cave, the right oil level is crucial for your engine’s performance. Too much or too little oil can lead to engine damage.
- Solution: Use the dipstick to check oil levels after filling and adjust accordingly. Always wait a few minutes after adding oil to check the level, allowing it to settle in the pan.
Disposing of Used Oil
Respecting the environment is as important as adhering to the man cave code. Proper disposal of your used oil and filter protects the planet and aligns with the principles of responsibility and care.
- Solution: Store the used oil in a sealed container and take it to a local auto shop or recycling center that accepts used oil and filters.
Tackling these common issues with the wisdom and resourcefulness of a seasoned man cave enthusiast ensures that what happens in your garage indeed leads to a successful and satisfying oil change.

FAQs
When Should I Change My Car’s Oil?
The interval for changing your car’s oil varies based on several factors including the type of oil used (synthetic vs. conventional), the make and model of your vehicle, driving habits, and environmental conditions. Modern vehicles often recommend oil change intervals between 5,000 to 15,000 miles, but it’s crucial to consult your vehicle’s owner’s manual for the manufacturer’s recommendations.
Can I Switch Between Synthetic and Conventional Oil?
Yes, you can switch between synthetic and conventional oil without harming your engine. However, it’s essential to stick to the oil viscosity recommended by your vehicle’s manufacturer. Synthetic oil offers better performance and protection, especially in extreme temperatures, and may extend the interval between oil changes.
How Do I Reset My Car’s Oil Change Light?
The process to reset an oil change light varies by vehicle. Generally, it involves turning the ignition to the on position without starting the engine and pressing the reset button or navigating through the vehicle’s onboard menu system. For specific instructions, refer to your vehicle’s owner’s manual or look up a guide online based on your car’s make and model.

Is It Necessary to Change the Oil Filter With Every Oil Change?
Yes, it is highly recommended to replace the oil filter with every oil change. The oil filter plays a crucial role in removing contaminants from the oil, and a clogged filter can lead to reduced oil flow and cleanliness, potentially causing engine wear or damage over time.
What Should I Do If I Overfill the Oil?
Overfilling your engine with oil can lead to increased pressure, oil foaming, and potential damage. If you accidentally overfill the oil, drain the excess until the level is correct according to the dipstick. It’s better to address this issue immediately to avoid potential harm to your vehicle’s engine.
Addressing these FAQs not only enhances your understanding of the oil change process but also equips you with the knowledge to maintain your vehicle’s engine health effectively, mirroring the ethos of preparedness and self-reliance celebrated in spaces like the garage!
As an Amazon Associate we earn from qualifying purchases through some links in our articles.


