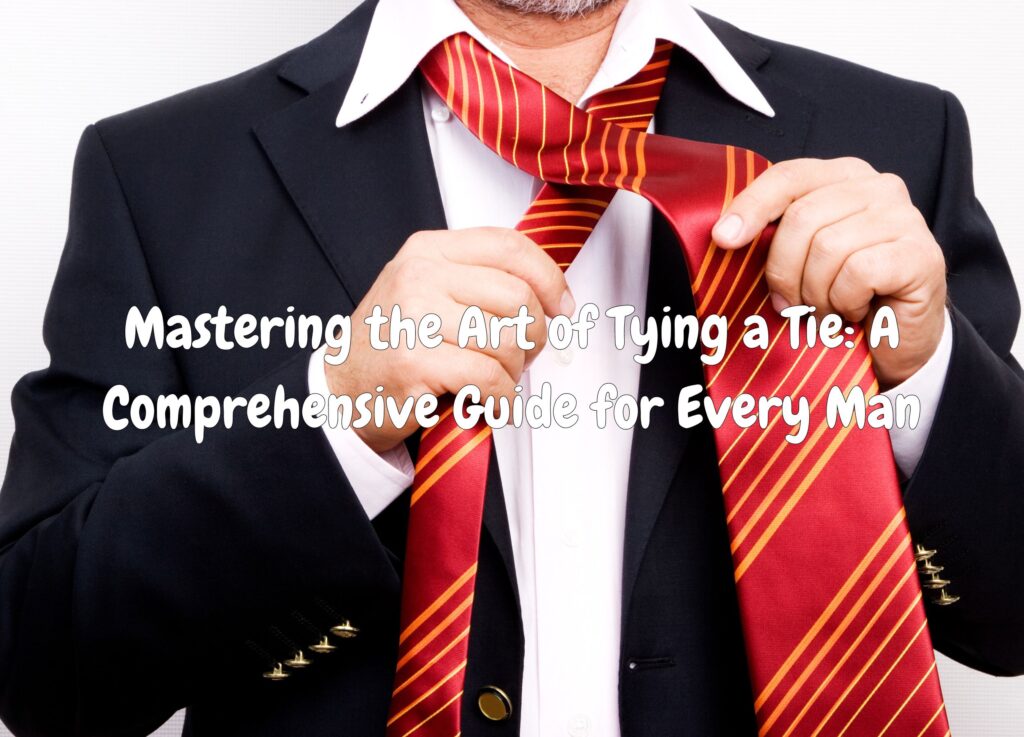
Tying a tie: it’s a rite of passage for many men. Some remember their fathers or grandfathers standing behind them, guiding their hands, teaching them this essential life skill. But for others, especially those without a father figure in their lives, this seemingly simple task can seem daunting. Fear not, gentlemen, because this article has you covered. Let’s dive deep into the world of ties and unravel the mystery knot by knot.

Understanding the Tie
Before getting into the details of tying a tie, it’s essential to understand its types. The most common styles are the regular necktie and the bowtie. For this guide, we’ll focus on the standard necktie.
Prepping Up
- Positioning: Begin by standing in front of a mirror. Ensure you have good lighting to see what you’re doing.
- Collar: Your shirt’s collar should be upright, and you should have the top button fastened.
- Tie Placement: Drape the tie around your neck, with the wider end on your right side and the thinner end on the left.
Tying the Four-in-Hand Knot (A Basic Knot)
- Starting Position: The wider end should be about a foot below the thinner end. This might need adjustments based on your height and the tie’s length.
- Cross Over: Move the wide end over the narrow end.
- Wrap Around: Bring the wide end behind the narrow end from right to left.
- Going Up: Now, pull the wide end upwards towards your chin, then tuck it through the loop around your neck.
- Through the Knot: There should be a small horizontal band you’ve created in the previous steps. Slide the wide end through this band.
- Tighten and Adjust: Holding the narrow end with one hand, slide the knot upwards with the other until snug against the collar.
Advancing to the Half-Windsor (A Bit Dressier)
For those occasions when you want your tie to make a statement, the Half-Windsor knot provides a symmetrical, triangular knot that’s perfect for wider collared shirts.
- Starting Position: Similar to the Four-in-Hand, but the wide end should be a bit lower this time.
- Cross Over: Bring the wide end over the narrow end.
- To the Top: Move the wide end up through the neck loop.
- To the Left: Bring the wide end around the back of the narrow end, then pull it to the left.
- Over Again: Move the wide end over the narrow end from left to right.
- Up Through the Loop: Bring the wide end up through the neck loop again.
- Through the Knot: Guide the wide end through the knot in front.
- Tighten and Adjust: Hold the narrow end, sliding the knot to adjust.
Tying a tie might seem like a mountainous task initially, but with practice, it becomes an effortless part of a man’s routine. Whether you had someone to teach you or you’re learning independently, mastering this skill is a nod to tradition, elegance, and personal growth. Remember, it’s less about the knot and more about the confidence with which you wear it. So, chin up, tie on, and face the world with style and poise.
As an Amazon Associate we earn from qualifying purchases through some links in our articles.


